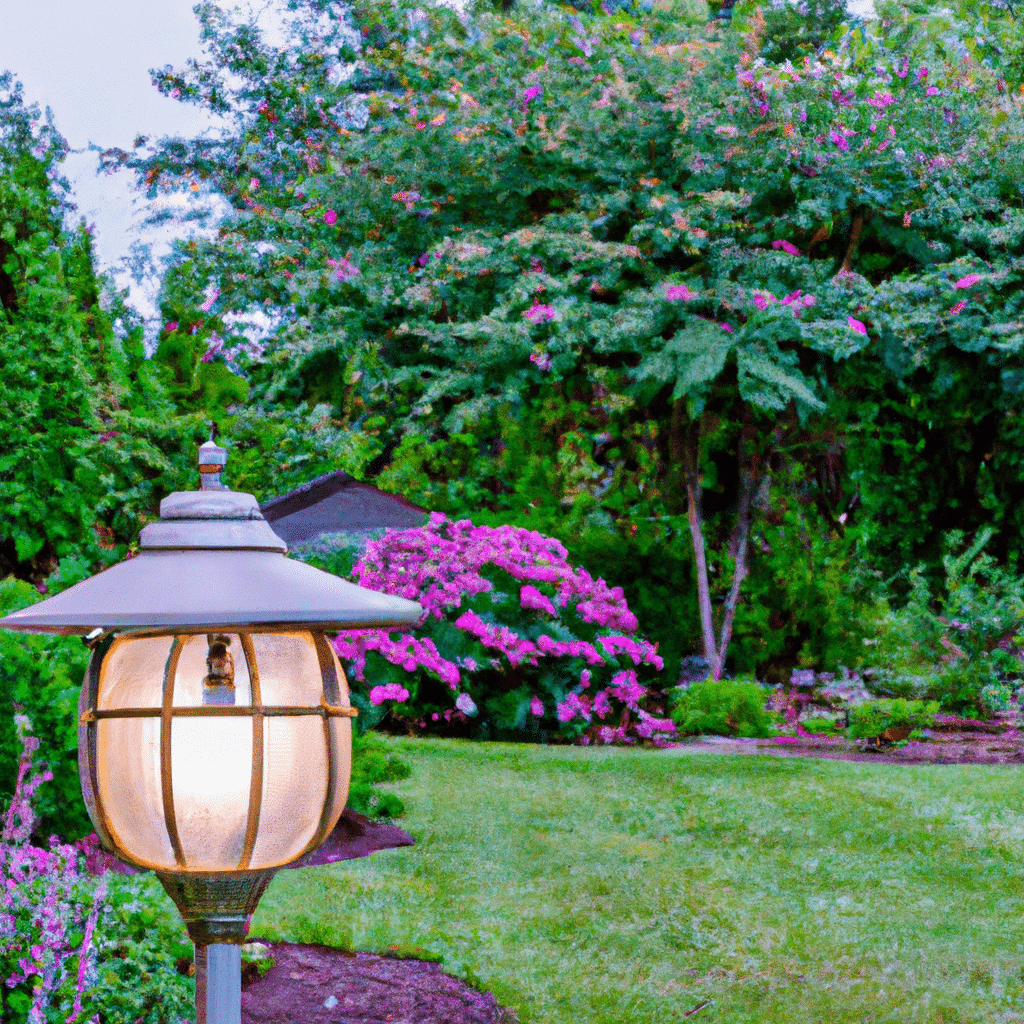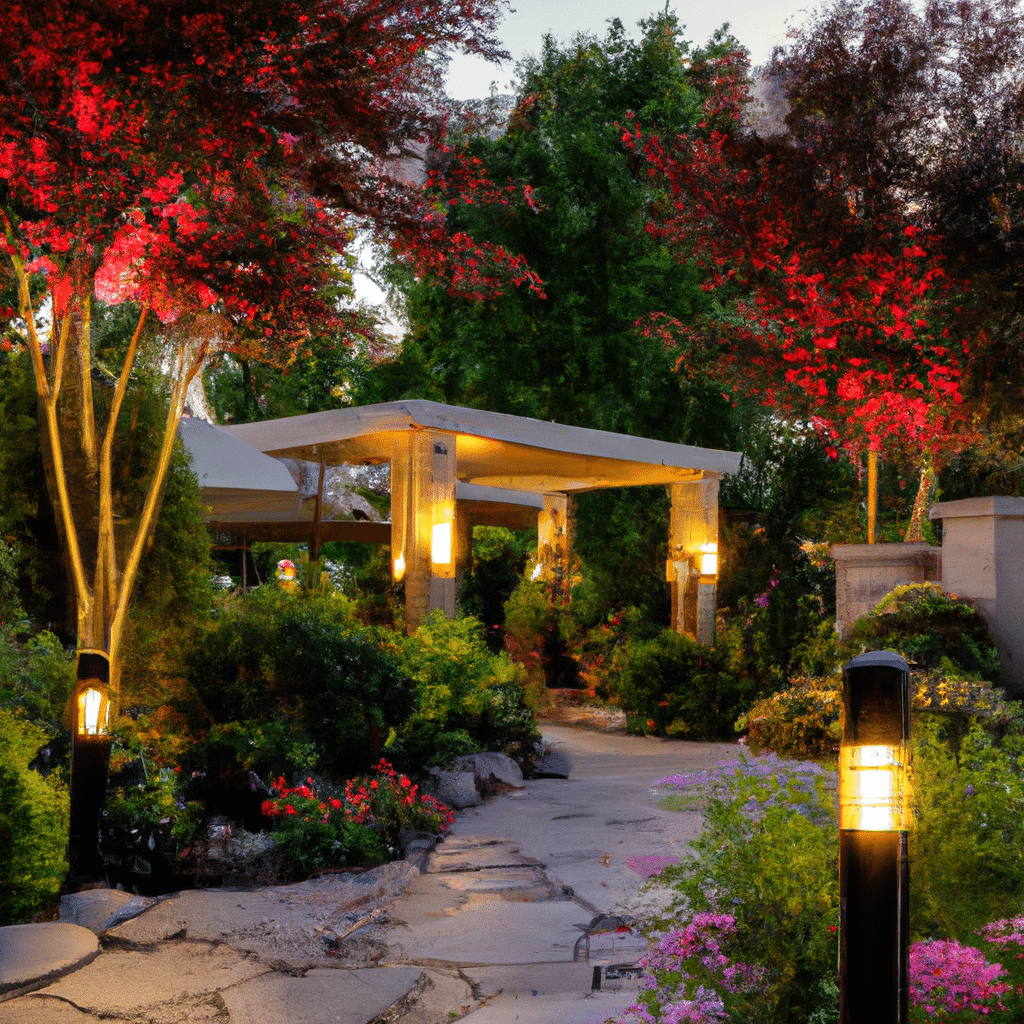
Welcome to our comprehensive guide on revamping your garden with outdoor LED lighting. In this step-by-step guide, we will walk you through the process of transforming your garden into a stunning and inviting space using energy-efficient LED lights. Whether you want to create a cozy ambiance for outdoor gatherings or highlight specific features of your garden, LED lighting offers endless possibilities. Let’s dive in!
Section 1: Understanding the Benefits of Outdoor LED Lighting
LED lighting has revolutionized the lighting industry with its numerous benefits. Before we delve into the step-by-step process, let’s explore why LED lights are the perfect choice for your garden makeover.
Energy Efficiency and Cost Savings
One of the biggest advantages of outdoor LED lighting is its energy efficiency. LED lights consume significantly less energy compared to traditional incandescent or halogen bulbs. This not only helps reduce your carbon footprint but also leads to substantial cost savings on your electricity bills in the long run.
Durability and Longevity
LED lights are highly durable and built to withstand various weather conditions. Unlike traditional bulbs, LEDs are not prone to breakage or filament burnouts. With an average lifespan of 25,000 to 50,000 hours, LED lights last much longer, reducing the need for frequent replacements.
Versatility and Design Options
LED lighting offers a wide range of design options to suit your garden’s unique aesthetics. From pathway lights and spotlights to string lights and color-changing options, you can create a customized lighting scheme that complements your garden’s features and enhances its overall appeal.
Section 2: Planning Your Outdoor LED Lighting Design
Before you start installing your outdoor LED lights, it’s crucial to plan your lighting design. This will help you determine the type and placement of lights required to achieve your desired outcome.
Assessing Your Garden’s Layout and Features
Begin by evaluating your garden’s layout and identifying key features you want to highlight. Consider pathways, trees, shrubs, flower beds, water features, or any architectural elements that you wish to illuminate. This assessment will guide you in selecting the appropriate lighting fixtures and placements.
Creating a Lighting Plan
Sketch out a lighting plan to visualize how your garden will look after the installation. Indicate the areas where you want to place lights and the type of fixtures you will use. This plan will serve as a roadmap during the installation process and ensure a coherent and balanced lighting scheme.
Selecting the Right LED Lights
Choosing the right LED lights is crucial for achieving your desired effect. Consider factors such as color temperature, brightness, and beam angle when selecting your lights. Warm white LEDs (2700-3000K) create a cozy and inviting ambiance, while cool white LEDs (4000-5000K) offer a brighter and more vibrant look.
Section 3: Installing Outdoor LED Lighting
Now that you have a well-thought-out lighting plan and have chosen the right fixtures, it’s time to move on to the installation process. Follow these steps to ensure a successful installation.
Step 1: Gather the Necessary Tools and Materials
Before starting the installation, gather all the tools and materials you will need. These may include LED lights, cables, connectors, a power supply, a transformer (if required), a shovel or garden trowel, and any other equipment specific to your lighting design.
Step 2: Prepare the Electrical Connections
If your lighting system requires a power supply or transformer, ensure they are properly installed and connected to a suitable power source. Follow the manufacturer’s instructions for a safe and effective installation. It’s essential to have a qualified electrician handle any electrical work if you’re unsure about the process.
Step 3: Position and Secure the Lights
Carefully place the LED lights in the designated areas according to your lighting plan. Use stakes, ground anchors, or mounting brackets to secure the fixtures in place. Take care not to damage any plants or disturb the soil during the installation process.
Step 4: Connect and Test the Lighting System
Connect the LED lights using the cables and connectors provided. Ensure all connections are secure and weatherproofed. Once everything is connected, test the lighting system to make sure all fixtures are working correctly and producing the desired lighting effect.
Section 4: Maintaining Your Outdoor LED Lighting
Proper maintenance is essential to keep your outdoor LED lighting in optimal condition and ensure its longevity. Here are some tips to help you maintain your lighting system effectively.
Regular Cleaning
Dust, dirt, and debris can accumulate on your LED lights over time, affecting their performance. Regularly clean the fixtures using a soft cloth or a gentle cleaning solution to remove any buildup. Avoid using abrasive materials or harsh chemicals that may damage the lights.
Inspect and Replace Faulty Lights
Periodically inspect your LED lights for any signs of damage or malfunction. If you notice flickering, dimming, or complete failure of a light, it may be time to replace it. Most LED lights are designed for easy replacement, so consult the manufacturer’s instructions for the correct procedure.
Check Wiring and Connections
Inspect the wiring and connections of your lighting system to ensure they are secure and free from damage. Loose or damaged connections can lead to flickering or inconsistent lighting. If you notice any issues, address them promptly to maintain the optimal performance of your LED lights.
Conclusion
Congratulations on completing our comprehensive guide on revamping your garden with outdoor LED lighting! By following the step-by-step instructions, you can transform your garden into a captivating space that radiates charm during both daytime and nighttime. Remember to plan your lighting design carefully, select the right LED lights, and follow proper installation and maintenance practices. Enjoy your beautifully lit garden and make lasting memories in its enchanting ambiance.


